$ 63499
€ 55628
£ 47542
¥ 10289510
元 431423
₹ 6031945
Highly Secure Cold Storage for Your Bitcoins
This guide explains how to set up an offline wallet to securely store your Bitcoins, along with a watch-only online wallet. The online wallet allows you to monitor your transaction history and generate transactions. These transactions must be signed using the offline wallet before being broadcast through the online wallet.
You will need: a PC, a USB stick, a piece of paper and a pen, attention to detail, and a cup of coffee or something else to your liking. All the software is reliable and free. Yes, that happens.
So, the main idea is this: the cold wallet has no connection to other devices. One device has an Internet connection. On this device, a wallet is created for watching the balance. Let's call this device the Online Device. Essentially, this is any regular device, such as your work or home computer, or even a borrowed one, or a smartphone, or whatever else you have. This device does not store your private keys.
The second device is unique in that it has no connection to the Internet or any other devices under any circumstances. We'll call this device the Offline Device. There is no connection between the Online and Offline devices – this is called an "air gap." That is, the Offline Device is air-gapped from all other devices.
What does this provide? It significantly enhances the security of the wallet, and therefore, your funds. This is because it eliminates the possibility of external interference with the wallet's software by any malicious entities.
Coffee ready? Let's get started.
Step 1. Creating an Offline Wallet (Cold)
Take a PC that is NOT connected to the Internet, with Wi-Fi, Bluetooth, and the local network disabled, to create the Cold Wallet. Download the Electrum application from the official website that corresponds to the operating system on this PC. Install the application.
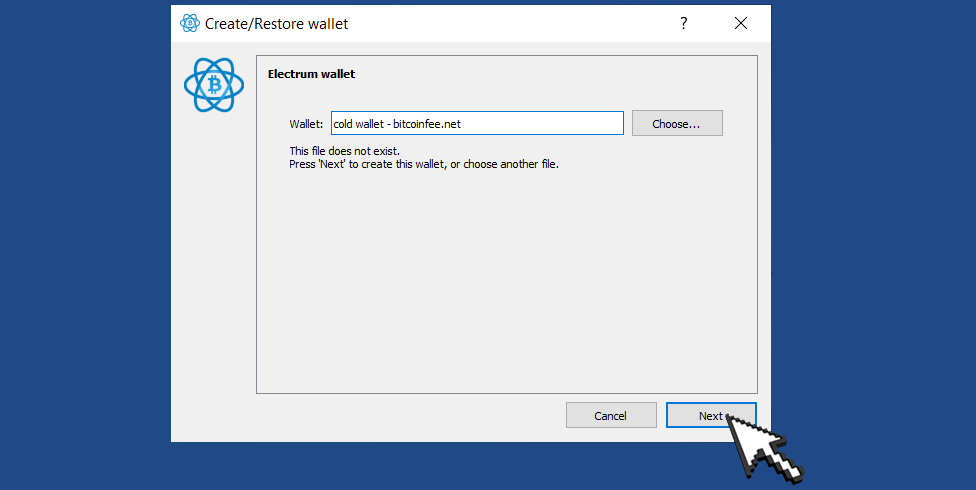
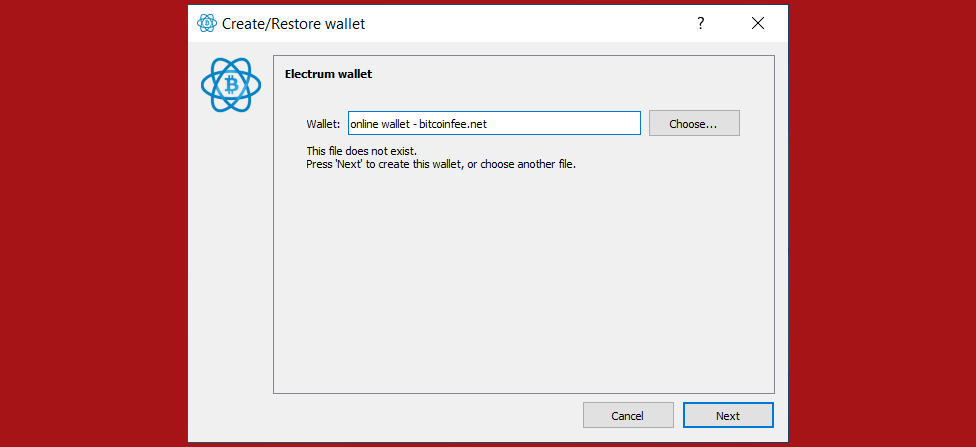
Start the wallet creation/restoration process as usual (File -> New/Restore). Enter the name of the wallet.
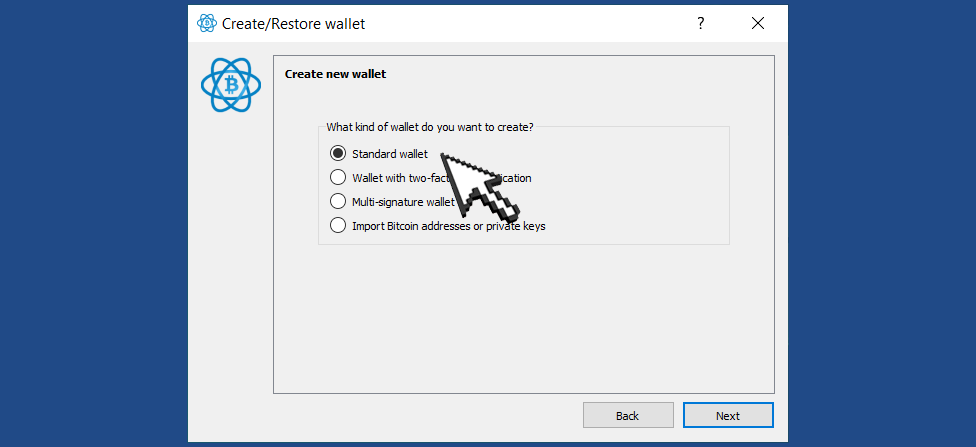
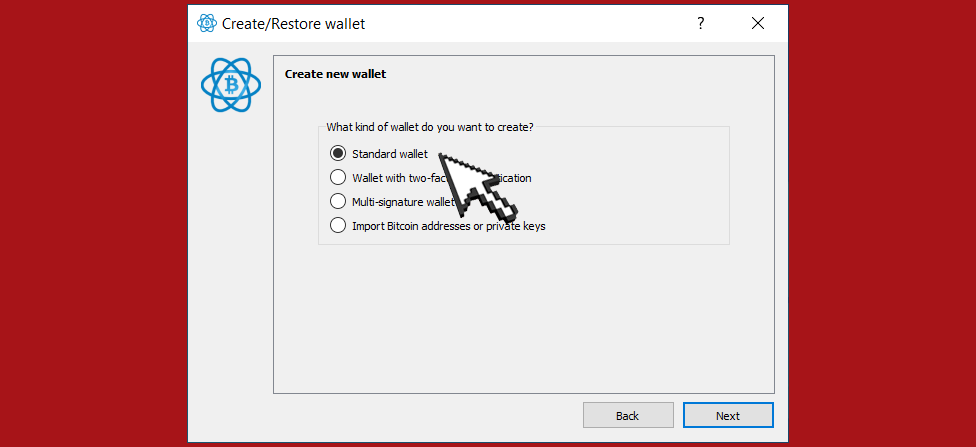
Next, select the option - Standard wallet.
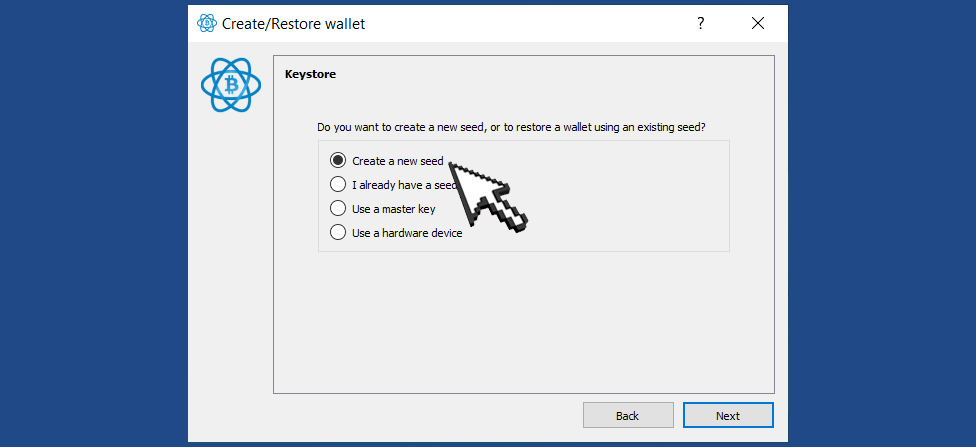
Next, select the option - Create a new seed phrase.
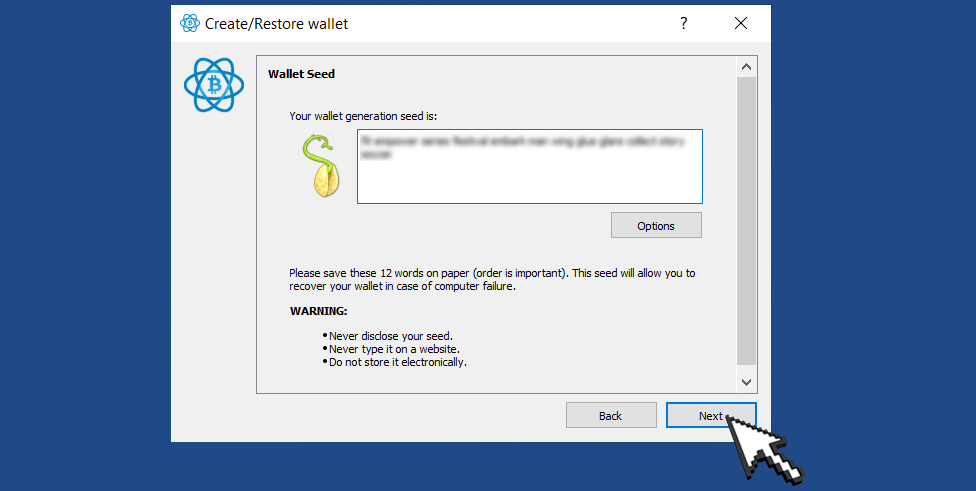
A window with a new seed phrase will appear. Write this phrase down on paper.
Warning
Never disclose your seed.
Never type it on a website.
Do not store it electronically.
Next, a confirmation window for the seed phrase will appear - to ensure you have correctly saved the seed phrase. Reading from the paper, again - from the paper, - enter each word to pass the check. If everything is OK, the "Next" button will light up. If the test is not passed, look for the error, go back, and double-check your notes.
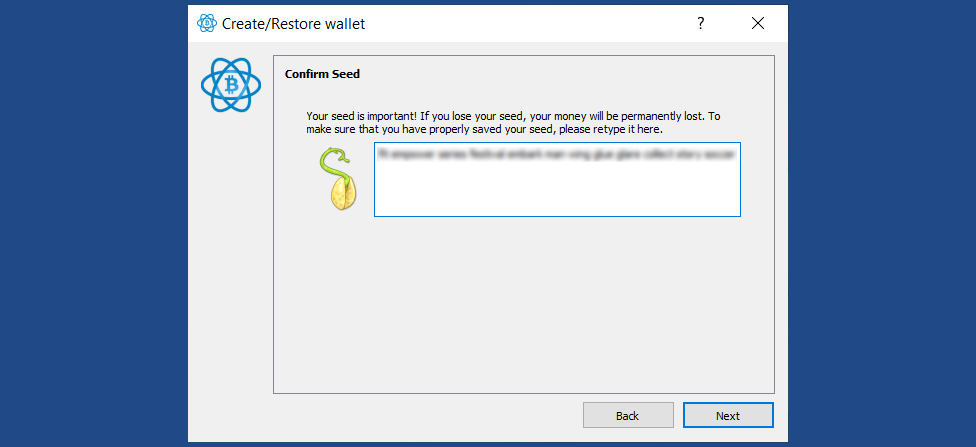
So, the seed phrase is confirmed.
Next, a window for creating a wallet password will appear. This is also an important step. Whether or not to set a password is up to you, but it is recommended. You will need to write down the password as well. Yes, everyone knows the hassle with passwords... The password will be required for every access to the wallet and for every transaction signature. Click the "Finish" button.
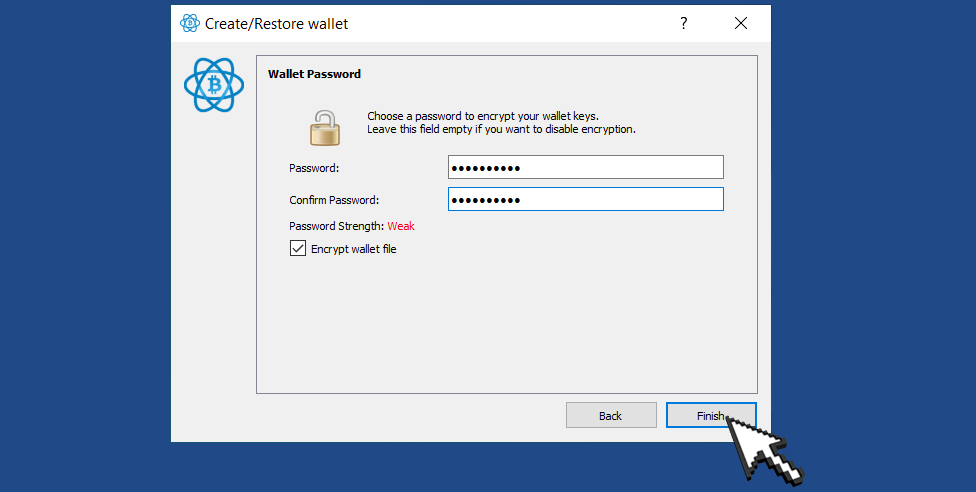
The cold wallet is created!
Go to the "Wallet" -> "Information".

In the popup window, find the Master Public Key. Copy it to the clipboard.
The Master Public Key needs to be transferred to the Online Device. Create a text file and paste the Master Public Key from the clipboard. Save the file onto the USB-stick.

Step 2. Create a Watching-Only Wallet on the Online Device
Download and install Electrum on the Online Device.
Open Electrum and select "File" -> "New/Restore."
Enter the name of the wallet.
Next, choose "Standard wallet."
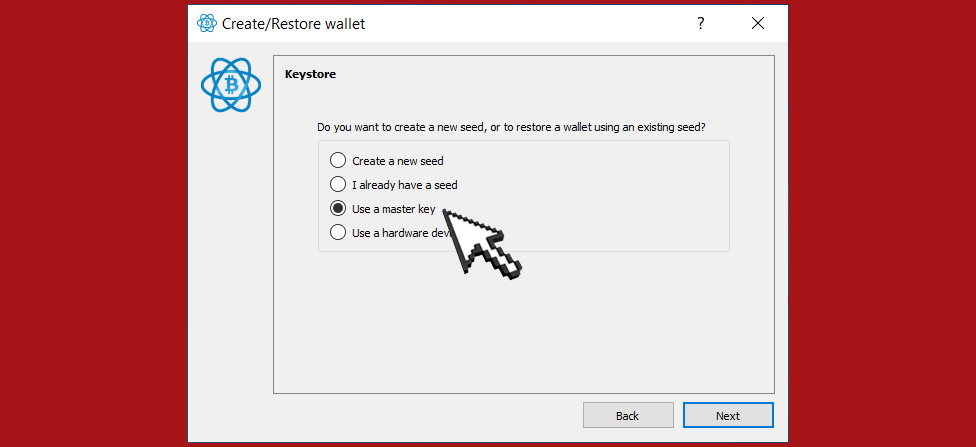
Then, select the option "Use a master key."
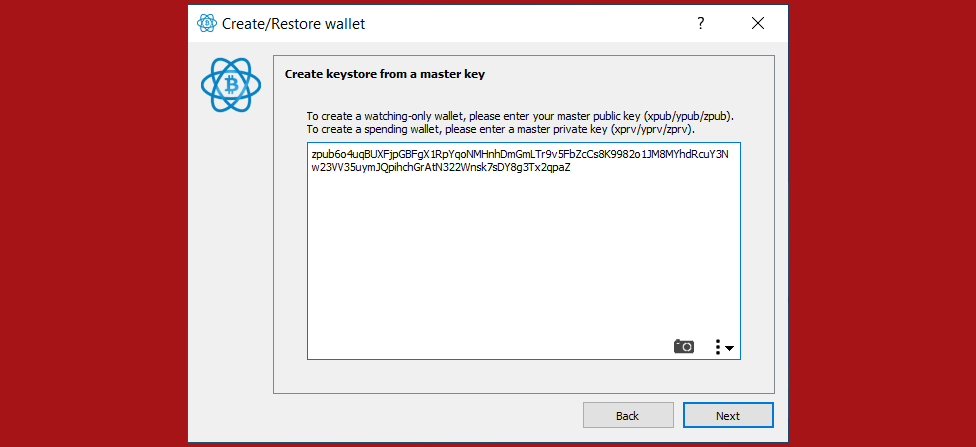
Copy the Master Public Key from the USB stick. Paste your Master Public Key into the box.
Next, a password creation window will appear - proceed as usual...

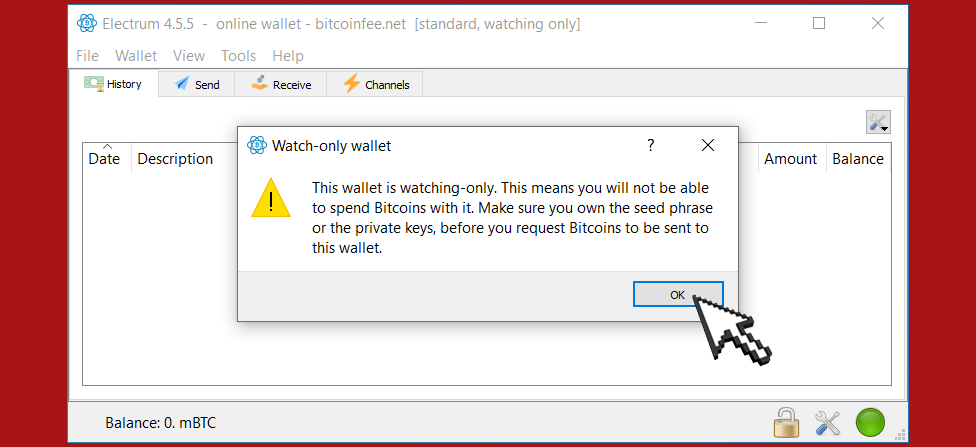
Click Finish to complete the creation of your wallet. When you’re done, you should see a popup informing you that you are opening a watching-only wallet.
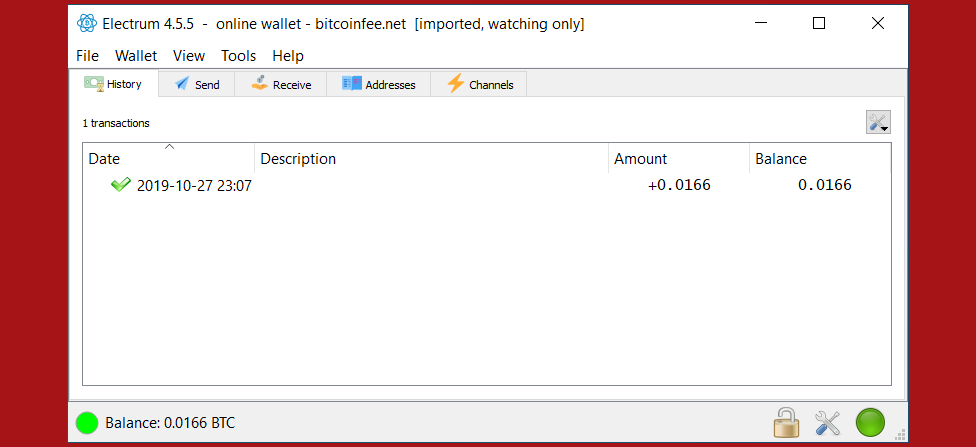
You should then see the transaction history of your cold wallet.
So, everything is already set up!
Now, here's how to use it all.
Step 3. Create an Unsigned Transaction on the Online Device
Go to the “Send” tab on your online watch-only wallet, input the transaction data, and press “Pay...”.
Set your desired transaction fee or leave it as is. Click "Preview".
A window pops up:
Press "Share" -> "Save to file" and save the transaction file somewhere on your computer. Transfer the transaction file to your Offline Device (e.g., with a USB stick).
Step 4. Get Your Transaction Signed
On your offline wallet, select "Tools -> Load transaction -> From file" in the menu and select the transaction file created in the previous step from the USB stick.
You have an excellent opportunity to review the transaction details once more! It's crucial to thoroughly verify all transaction information before finalizing, ensuring accuracy and avoiding potential errors. This final check is a key step in safeguarding your assets and ensuring the integrity of your transactions.
Press "Sign". Once the transaction is signed, the Transaction ID appears in its designated field.
Enter the password. Of course, if you set one previously.

The "Sign" button will become inactive.
Press "Export" -> "Export to file", store the file somewhere on your computer, and transfer it back to your Online Device.
In summary, the new transaction has been created and signed! There is just one small step left...
Step 5. Broadcast Your Transaction
Let's return to the Online Device.
On your Online Device, go to the menu and select "Tools" -> "Load Transaction" -> "From File". Choose the file containing the signed transaction.
In the window that appears, click "Broadcast".
The transaction will be sent to the Bitcoin network.
Done!
Let's Summarize
It’s that simple!
Hints
Use an operating system on the Offline device that is different from the system on the Online device. For example, Windows and iOS, Linux and Windows, etc.
It is convenient to use QR codes to transfer Master Public Key data and transactions between Online and Offline devices. Of course, if the devices have cameras. This also adds a little more to the security of transactions, as it eliminates the need to use a USB stick.
Disable hardware or software communication equipment on the Offline device. This can be done, for example, in the BIOS.
You can also physically remove the communication boards from the offline device.